Removing the bezel from your monitor can be a frustrating step in building your own smart mirror.
The reason we need to remove the bezel is to bring the monitor as close as possible to the mirror’s surface.
The closer you bring the monitor to the surface of your smart mirror, the better results you will get.
Every monitor will be slightly different, but the steps in this tutorial should help you figure out how to prepare your monitor for your smart mirror.
If you don’t already have a monitor to use for your smart mirror, check out this article to find the right monitor for you.
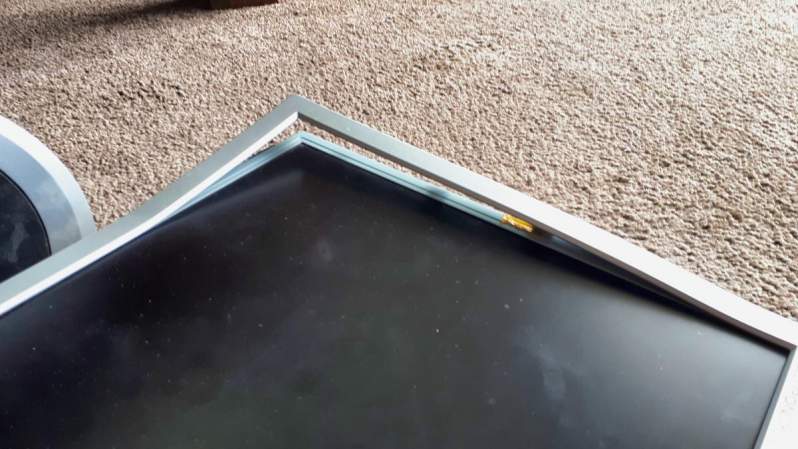
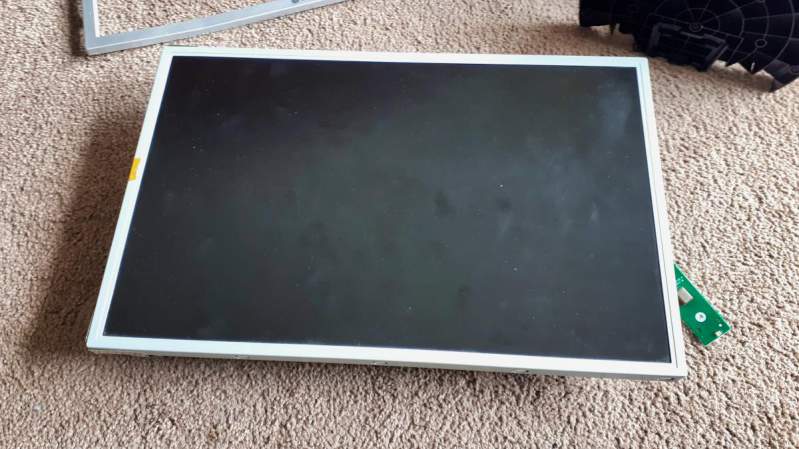
This is the monitor I used for my smart mirror:
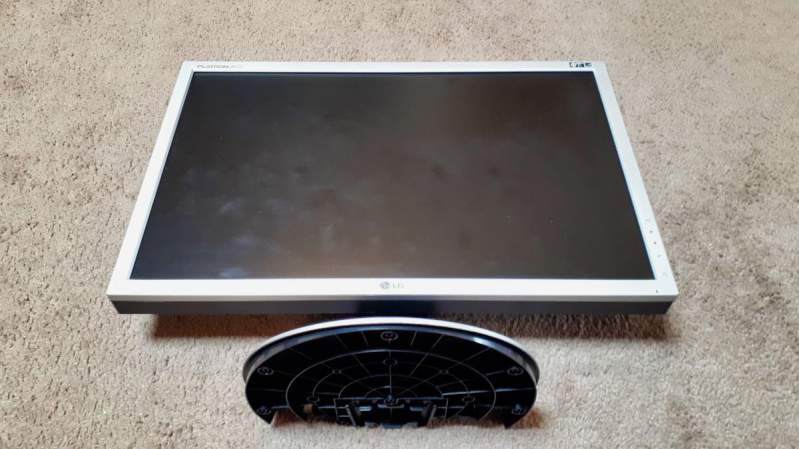
The light colored bezel would be easily seen if I placed it behind my smart mirror.
The bezel also moves the surface of the monitor away from the surface of the mirror. This can cause ghosting or double-vision in a smart mirror and looks terrible.
Removing the bezel will also remove the bulky outer casing, which means you end up with a slimmer mirror.
Tools to Remove Monitor Bezel
Removing a monitor’s bezel is usually pretty simple if you have the right tools.
All you will need is a screwdriver to remove part of the casing and a thin and hard tool to pry the casing open.
A paint scraper usually works well but anything that fits between the monitor’s casing will work.

Removing The Monitor’s Front Casing
While you could start by removing the stand, you may find it easier to keep the stand while you try to remove the front bezel casing.
The stand gives you better access to the monitor’s edges and I found it made the job a lot easier.
Squeeze your tool into the gap between the front casing and the back casing as shown below:
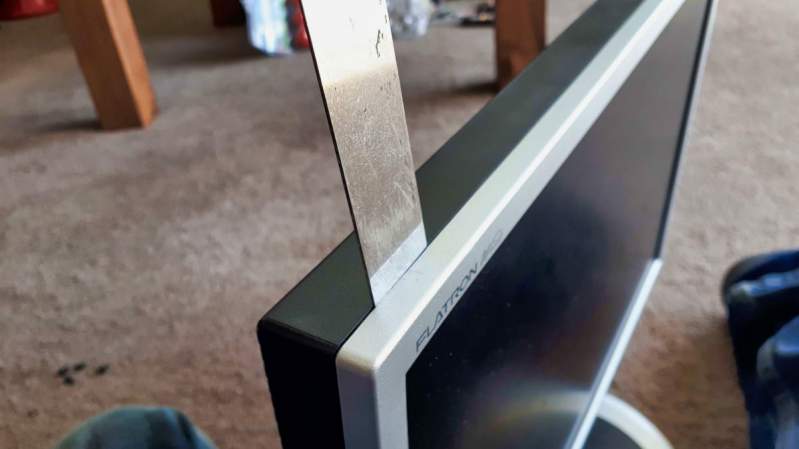
This is where the thickness of the tool makes a big difference.
The scraper I used was thicker than the gap, so I used the screwdriver to help pry the edges apart.
Start at one corner and try to twist your tool to push the two parts away from each other:
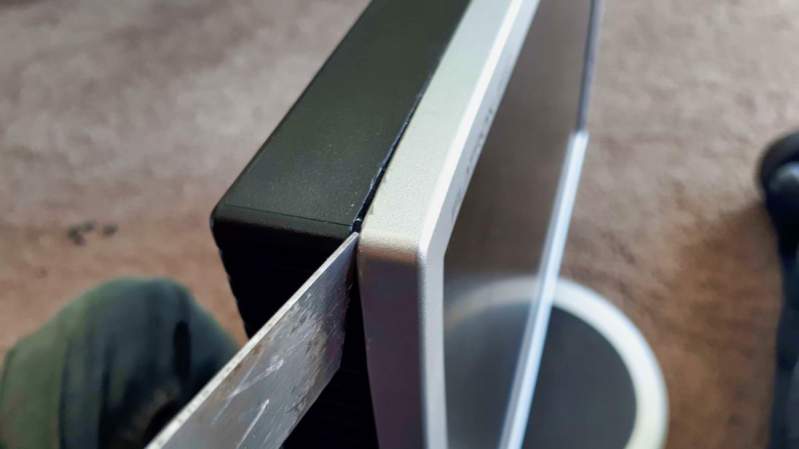
The first corner will be the hardest to separate, so don’t be surprised if you do a lot of damage to the casing as you try to pry them apart.
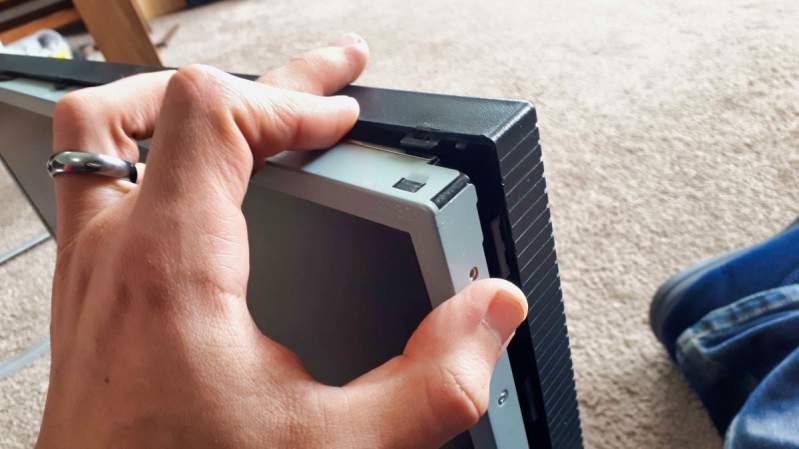
Eventually, you’ll hear a snap and the casing will separate as shown below:
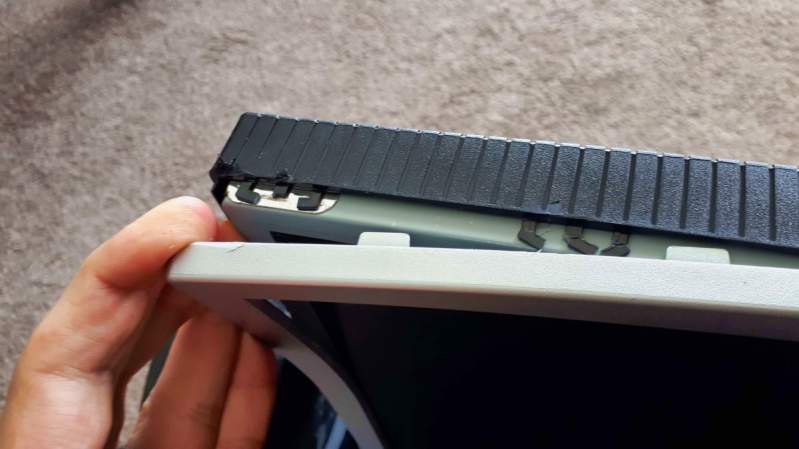
You can see in the above photo that there are little plastic tabs that hold the casing together.
Once the first set of tabs break, you’ll find it becomes a lot easier to break the next set.
Work your tool down the side of the gap and gradually pull the casing apart as you pry them.
Once you have separated a good length of the casing (as shown below), you’ll also be able to use your hands to pull the casing apart while using your tool to help pry them.
By the time you get to the last corner, you’ll find that the entire front bezel pops off.
Depending on your monitor, watch out for any buttons or LEDs that may be built into the front bezel.

Removing the Monitor’s Back Casing
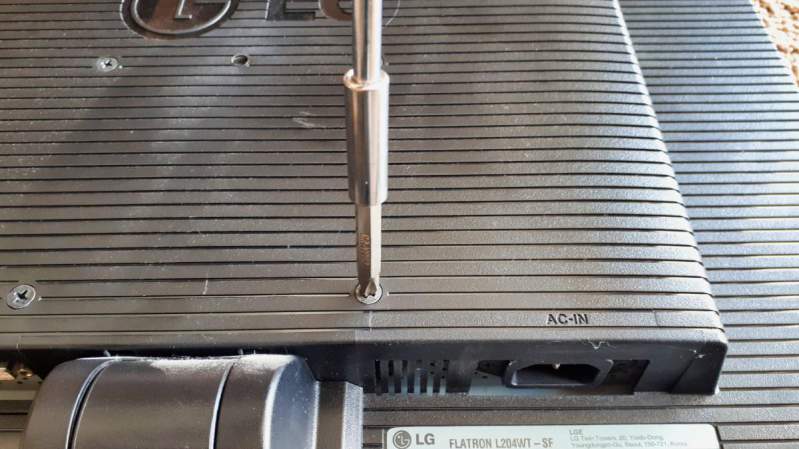
Now that the front casing has been removed, you can remove the monitor stand and unscrew any screws you find on the back.
Take note of where the buttons are on your monitor and start working on the opposite side. We want to leave the buttons area for last to avoid damaging the connectors.
Start by pushing the corner of the monitor away from the back casing.
Depending on your monitor, this might be an easy or hard job.
My monitor easily separated front the back casing after the front casing was removed.
All I needed to do was push my scraper tool along the edge of the back casing to push the tabs away from the monitor.
Be careful you don’t apply pressure to the surface of the monitor. Try to only push against the edge casing and avoid a small area of pressure.
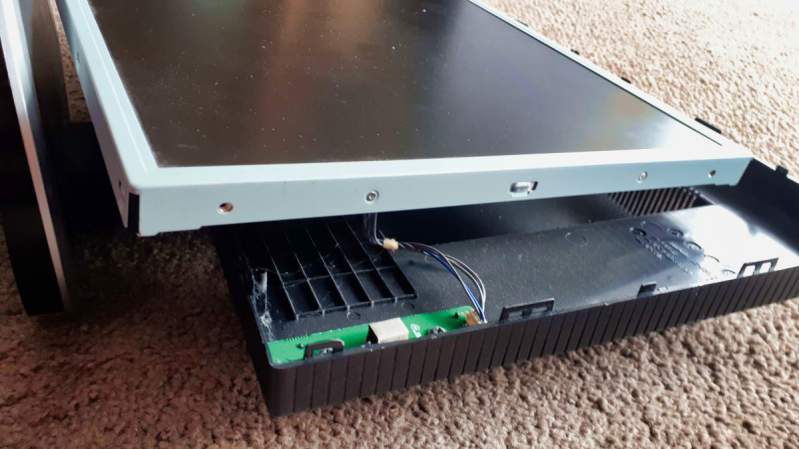
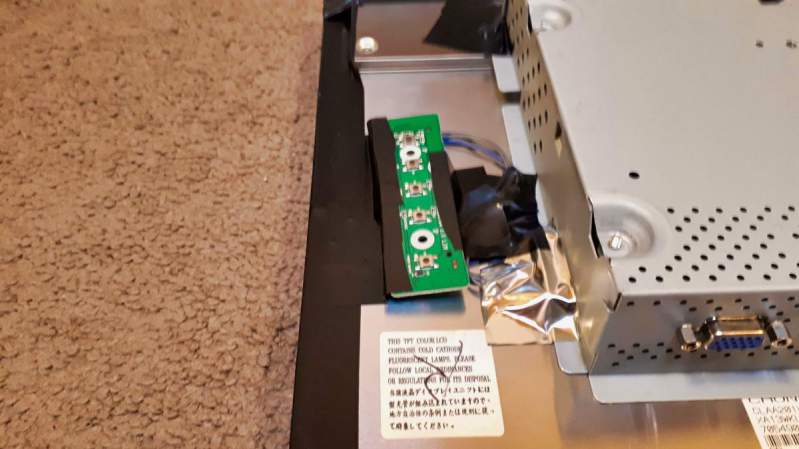
Once you have two corners removed, you should be able to pull the casing back far enough to see how the buttons are connected to the monitor.
With my monitor, I could see that the connecting wires were long enough that I could safely pull the casing off without much concern.
If you find that the connecting wires are short, work slowly to avoid the casing popping off and damaging the button board.
Once the back casing has been removed, you should be able to easily unscrew the board for the buttons and LEDs.
Don’t worry about the plastic buttons as you’ll easily be able to adjust the monitor without them by pushing directly on the control board.
Preparing Your Monitor For Your Smart Mirror
The hard part is over at this point – the monitor has been debezelled and you’re almost ready to install it in your smart mirror.
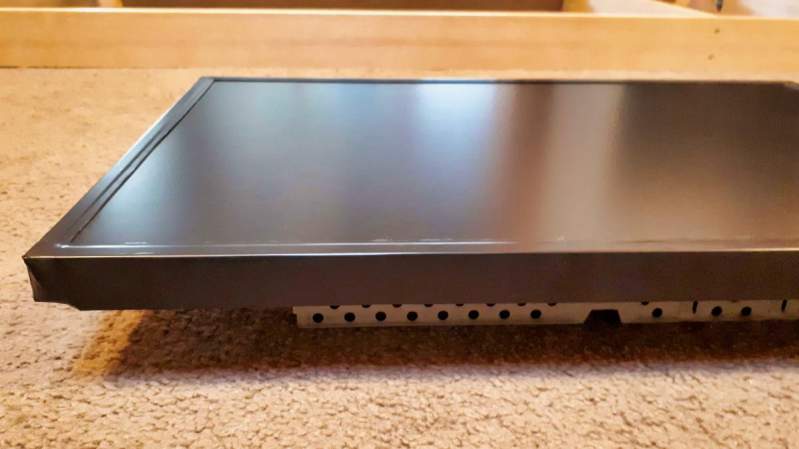
But the chances are your monitor will now look something like this:
The light colored metal border around your monitor isn’t ideal for a smart mirror.
Anything light behind your smart mirror will appear, so we really want this to be black.
Fortunately, there is a cheap and easy way to do this:
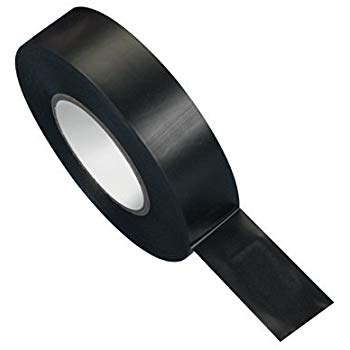
Any black plastic tape (link to Amazon) will perfectly hide the monitor’s border.
I found vinyl tape to work best as it is incredibly thin and has a bit of stretch to allow the tape to work into the grooves of the border.
It doesn’t matter whether the tape is shiny or has a matte finish. As long as it is black, you won’t see it behind your smart mirror.
Start by taping the control board to the back of your monitor so it doesn’t fly around as you work on your monitor.
Now flip your monitor over and carefully apply a long length of tape to perfectly cover the edge of the monitor.
Make sure you completely cover any sign of the metal border. Aim to have a little bit of overhang so you can wrap the tape around the slight bezel of the border.
Now you’ll have a completely black border that will become invisible once you install your monitor in your smart mirror.
Now you can look at how to mount your smart mirror to a wall or start building a stand for your smart mirror.